Tutorial: 3 No-Sew Halloween Onesies
My littlest is an October baby. She was born a week before Halloween and I only had one halloween-y outfit for her, which she wore to a pumpkin patch and completely swallowed her up. I remember that when it came time to go trick-or-treating with my then 16-month-old daughter I wanted my newborn to be comfy, so I dressed her in a simple onesie and situated her snugly into her sling.
Looking back, I was glad she was comfy that night, but I still wish, for the sake of pictures and such, that I had at least dressed her in a more festive onesie.
Please, don’t make my mistake. ;)Â Make a couple of these. They’re so easy and so fun to make that there’s no reason for your little one to not be dressed for the occasion this Halloween.
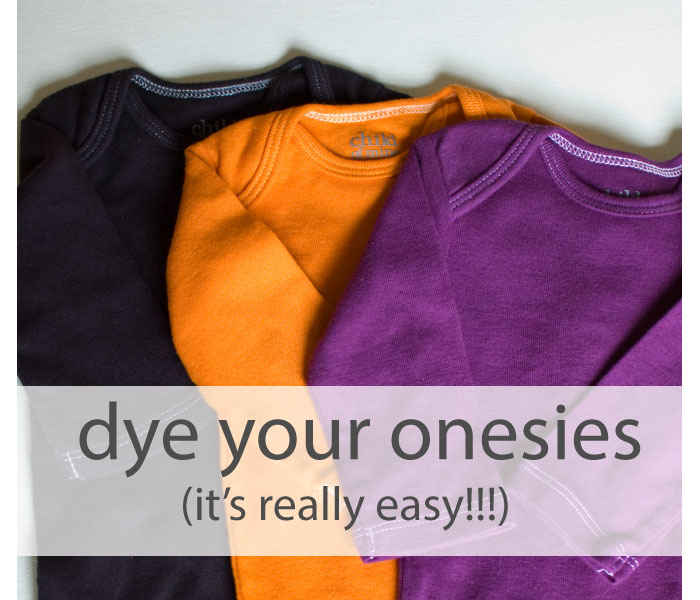
To start with, pick up some onesies in whatever size you need. I made these in size 0-3 months, but you can adapt the tutorial to any size, even a regular t-shirt for your big kid. If you can find them in the right color…Awesome! If not, just pick up some RIT and follow Dana’s instructions for dying fabric. I dyed these in purple, orange, and black and the color came out beautiful on all of them.
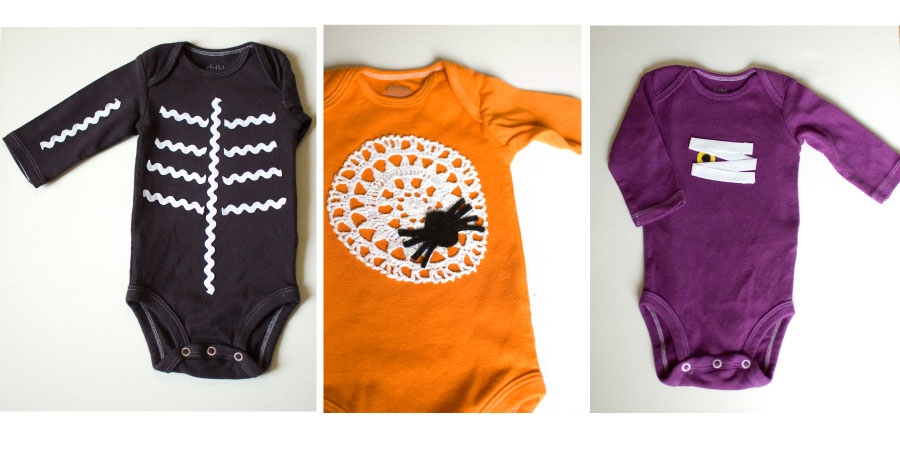
Skeleton Onesie Tutorial
What you need…
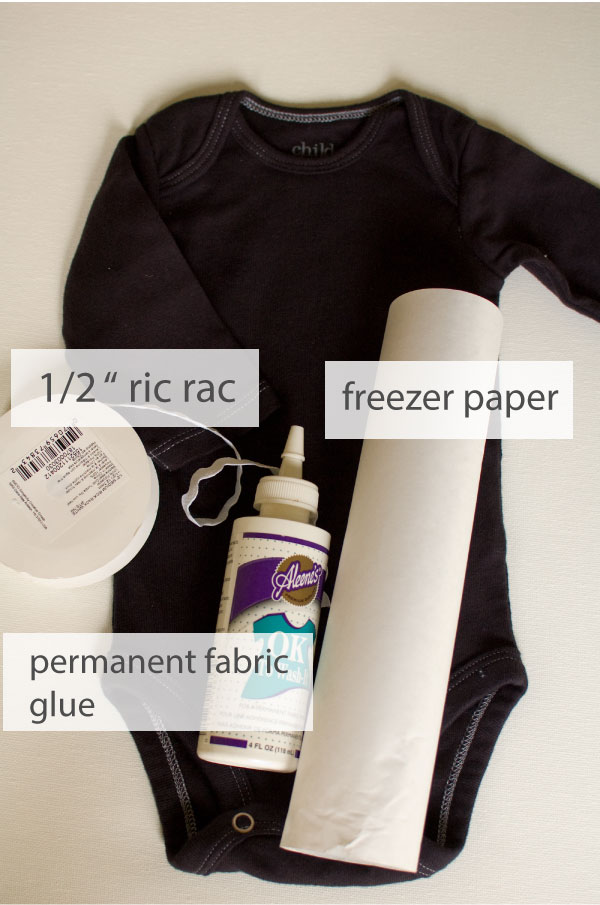 (not pictured is a paint brush, which you’ll need to help apply the glue neatly)
- Cut a rectangle from the freezer paper about the size of your onesie and insert between the layers, with the shiny side facing up (this will help keep the glue from going all the way through and sticking the front to the back).
- Repeat for each of the sleeves.
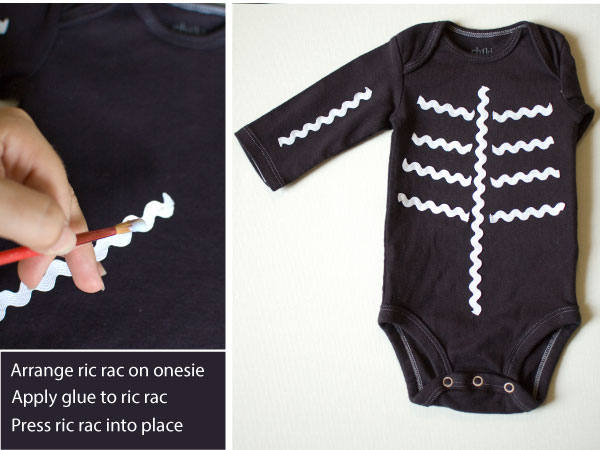
- Cut the ric rac according to the size of your onesie. Cut one piece for the “spine” and 8 smaller pieces for the “ribs.” I cut 4 sets of increasing length ranging between 2″ and 2 1/2″. (Use a lighter to seal the ends so that they don’t fray.)
- Arrange the ric-rac on your onesie until you are satisfied with its placement.
- Use paintbrush to carefully apply a layer of glue to the ric-rac then press it into place on the onesie.
This skeleton onesie was totally inspired by the simple effectiveness of this skeleton costume.
Spiderweb Onesie Tutorial
What you need….
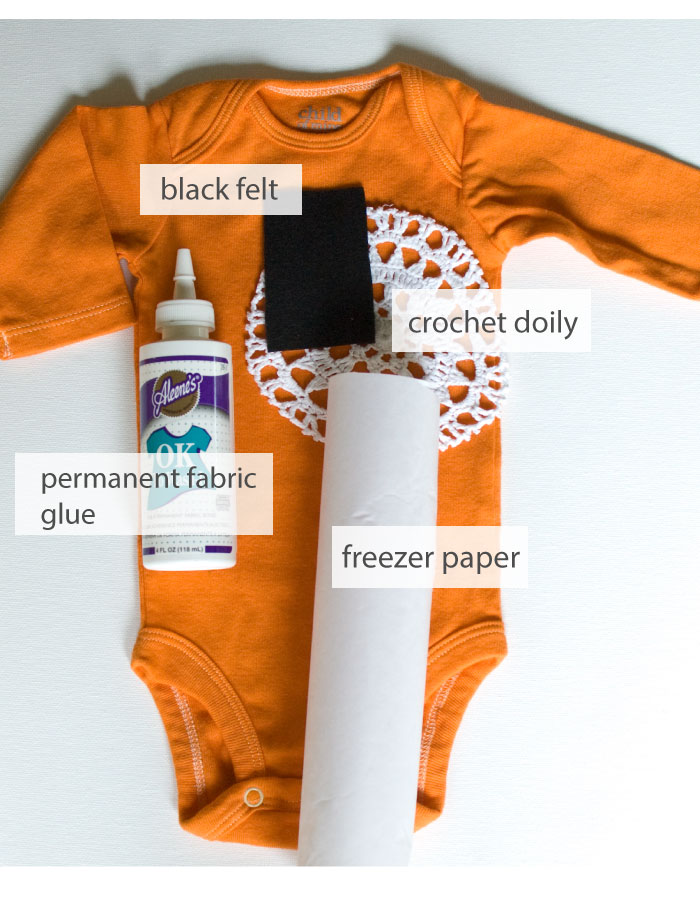 (not pictured is a paint brush, which you’ll need to help apply the glue neatly)
- Cut a rectangle from the freezer paper about the size of your onesie and insert between the layers, with the shiny side facing up (this will help keep the glue from going all the way through and sticking the front to the back).
- Use your paintbrush to carefully apply the fabric glue to your doily. Start at the center and work your way out, stopping just before you get to the outermost edge.
- Set doily into place, then press with your fingers.
- Once the doily has set for a couple minutes, lift the unglued edges and use your paintbrush to finish gluing the underside of the doily.
- Now cut a rectangle of black felt about 1 1/4″ by 2 1/2″.
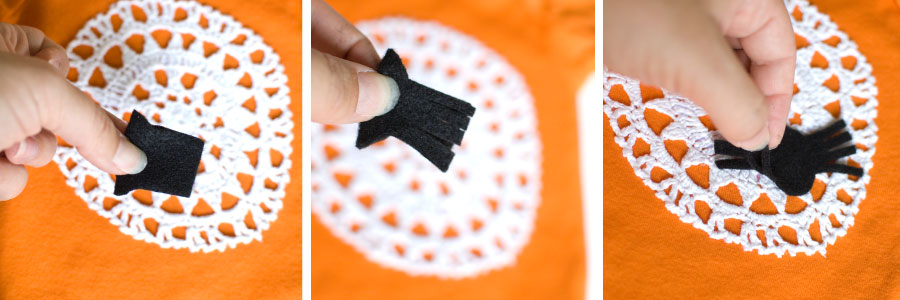
- Fold the rectangle in half lengthwise and cut around the outer edge of the spider shape, as shown below. Then cut 3 slits into the side…making 4 little spider legs.
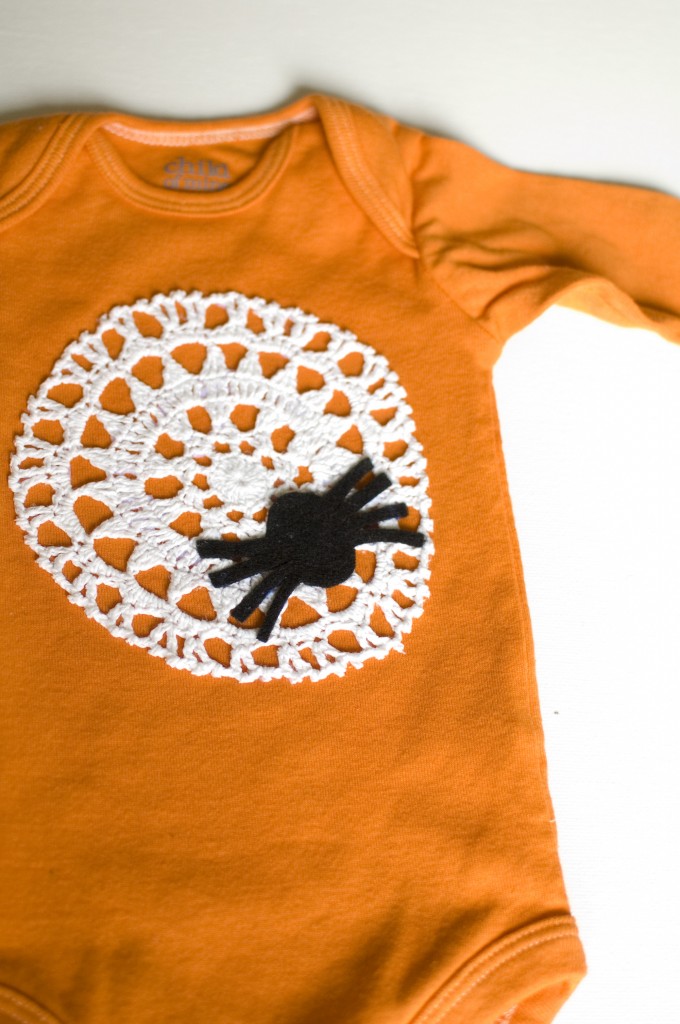
- Apply fabric glue to the spider’s body use your fingers to press into place on the doily.
- Once the spider’s body has set for a couple minutes, lift each leg and carefully apply the glue, spreading the legs as you press them into place.
Mummy Onesie Tutorial
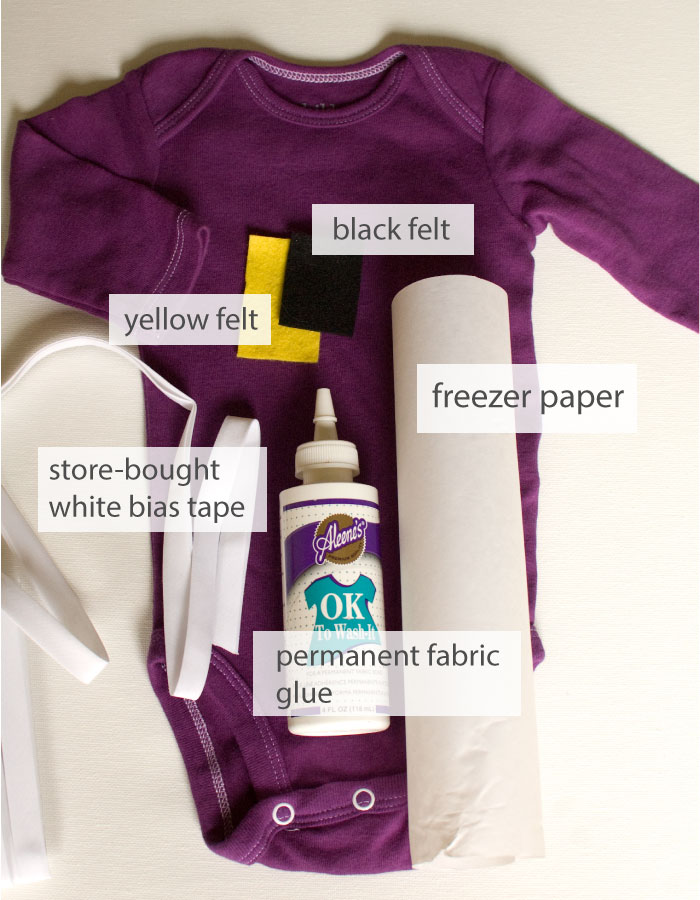
What you need…
(not pictured is a paint brush, which you’ll need to help apply the glue neatly, and an iron, for pressing the bias tape into shape)
- Cut a rectangle from the freezer paper about the size of your onesie and insert between the layers, with the shiny side facing up (this will help keep the glue from going all the way through and sticking the front to the back).
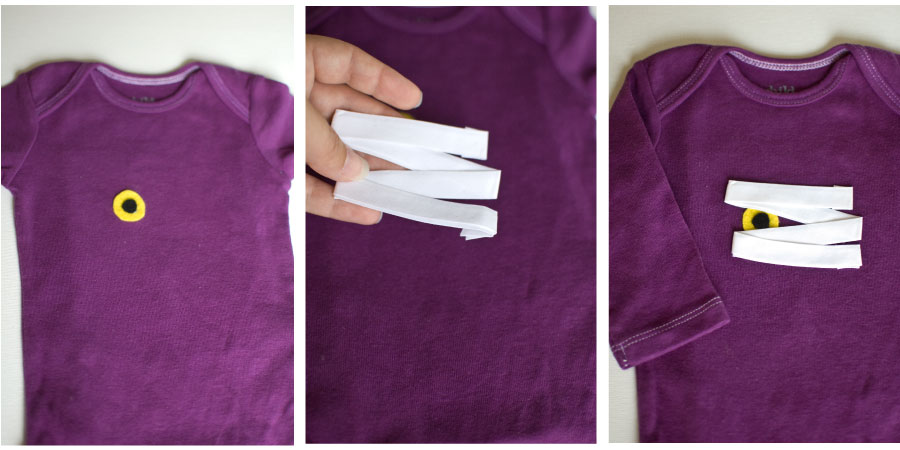
- Cut about a 1″ circle from the yellow felt, then cut a smaller circle from the black felt.
- Use the fabric glue to adhere the black eyeball onto the yellow eye.
- Fold one end of the bias tape over and start arranging the it on your ironing pad. You’ll be making sort of an “M” shape with the tape. It helps to keep the eyeball under the tape to get the angles right.
- Once you have the tape configured to your liking, fold down the remaining end.
- Now arrange the eye and bias tape on your onesie and start gluing into place.
- Once the glue has set for a bit, go through with your finger look for loose spots. Apply more glue to any loose spots and repeat until the pieces are firmly attached.
Sine all of these use fabric glue, please follow the manufacturer’s instructions regarding drying times and laundering.
I love that these are so easy, and since they’re for little ones who will only wear them once or twice before they outgrow them I think the fabric glue is a great choice. However, if I were to make these in big-kid sizes I think I would opt to stitch the pieces down for added durability.
Thanks, and enjoy!
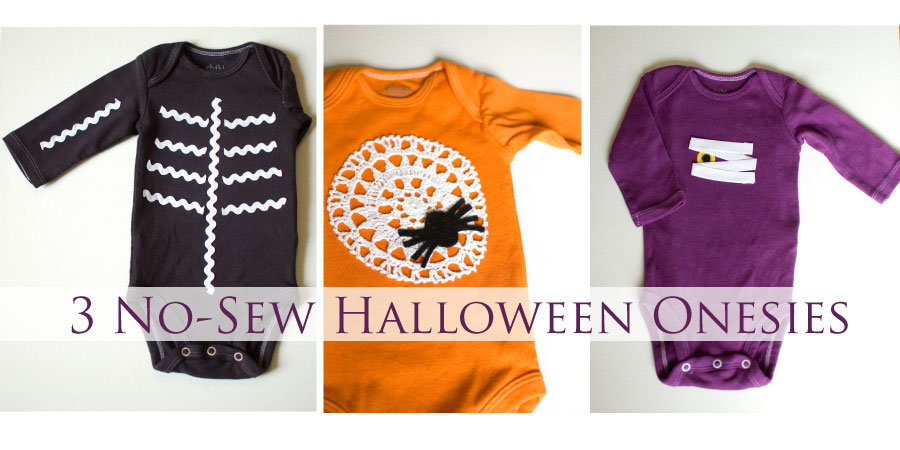
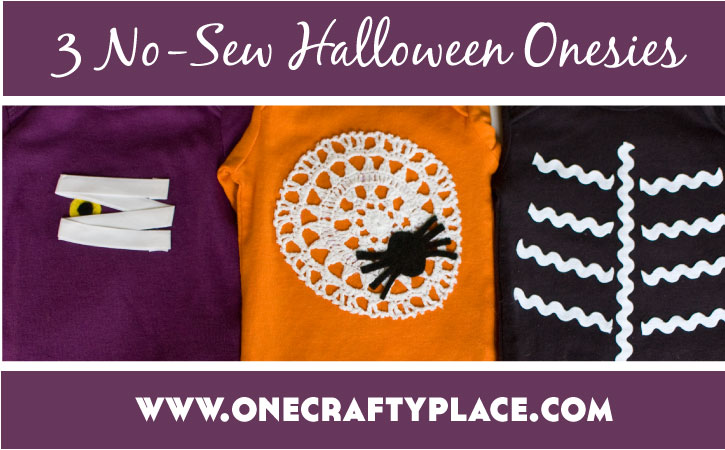
These are all adorable!! The doily for a spider web is so inspired!
Thank you Gina! Doilies are great, aren’t they?! Glad you stopped by!
These are adorable!!! I’m totally doing this on big kid shirts!
Thanks, Andrea, they are really fun to make! Take care and I hope to see you again soon!
I love the spider one! I am doing that for my big girl!
I’m so glad you like it, Amanda! Thanks for stopping by and lemme know how it turns out!
I love these! I might try a big kid one too!
I hope you do, Shannon! Thanks so much for your kind words!
Where can I buy the doily? So far I am having no luck finding one!
Hi Lauren! I found mine at Joann’s in the crafting section. They were out of the small doilies, so I just cut one of the larger ones down to the size that I needed. Hope you can find one!